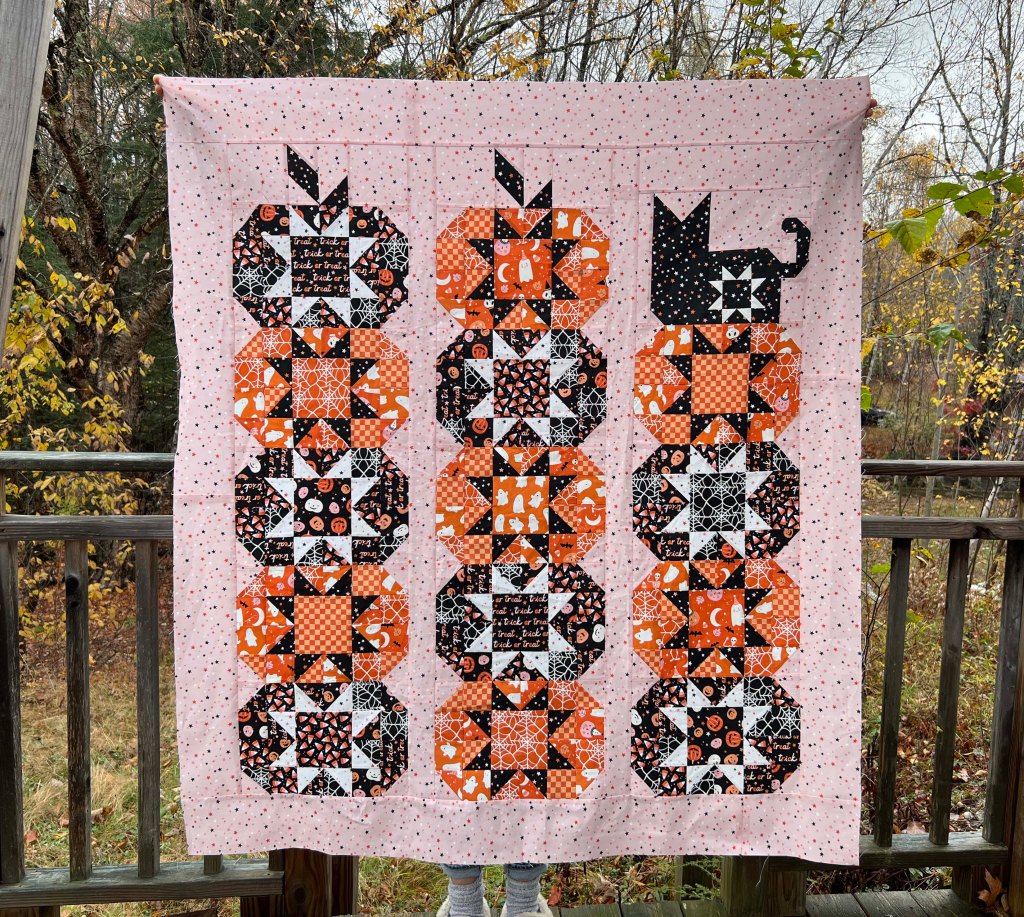
I’m a day late this week, but not a dollar short– I waited to show you my “Pumpkin Sitting” finish! This was a Fat Quarter Shop Spook Box– I’ve sworn off quilty boxes this year, but once I saw the reveal, I couldn’t resist.
Of course, I had to make some tweaks– it is sew fun to see the finishes on the Fat Quarter Shop Facebook group– no two are alike!
I did four things differently. First, I used the starry pink print from the collection for the background instead of white. It’s a bit Jackson Pollack-y, but I love it! In my opinion, a solid pink or any neutral color will show off the white stars in the pumpkins better– the original color scheme was a bit too harsh for me. It also struck me that the black kitty shows up more on top of an orange pumpkin than the black one shown, and all I had to do was stitch the pumpkins in a different order. I made a more connected kitty tail– scroll down to the very bottom of this post if you want the measurements– it was super easy to do. And finally, I added a bit of width to my outside borders– I had enough fabric, so why not? I’m so happy to have completed this top before Halloween– but I’m sure I won’t be quilting for a couple of weeks yet. And I have an announcement to make– I don’t HATE PINK anymore– thank you, Kimberly Jolly!
I’m now waiting for my Jolly box– how could I not order it after FQS hit this one out of the park?
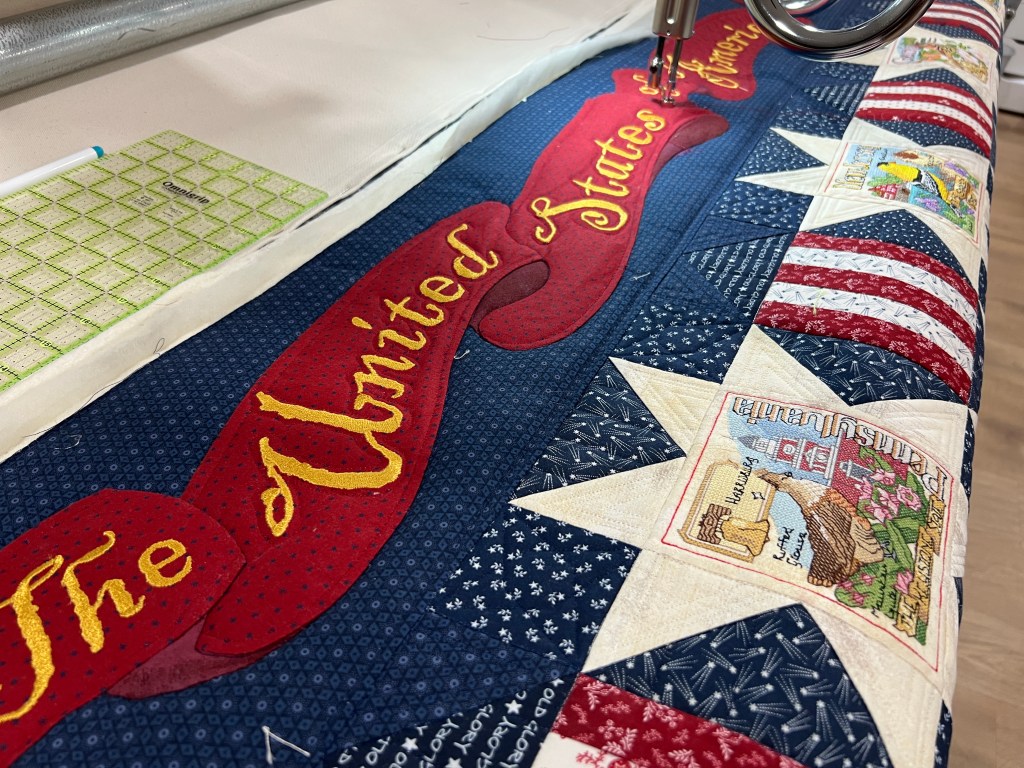
The Carefree Highways Quilt–I was hoping to be able to report back to you on how it went when I tried to embroider quilting in a 5×7 hoop on a 85″ x 100″ quilt 49 times. The good news is, I finished securing all the state embroideries, but I still need to quilt the top ribbon on the longarm before it comes off. It should be done in the next day or so. Then I will be cleaning off my entire desk top to accommodate only my embroidery machine and this quilt. Thank you all, a thousand times, for your encouragement and advice last week and I am extremely hopeful! Don’t miss next week’s post and we’ll see how many I have done…
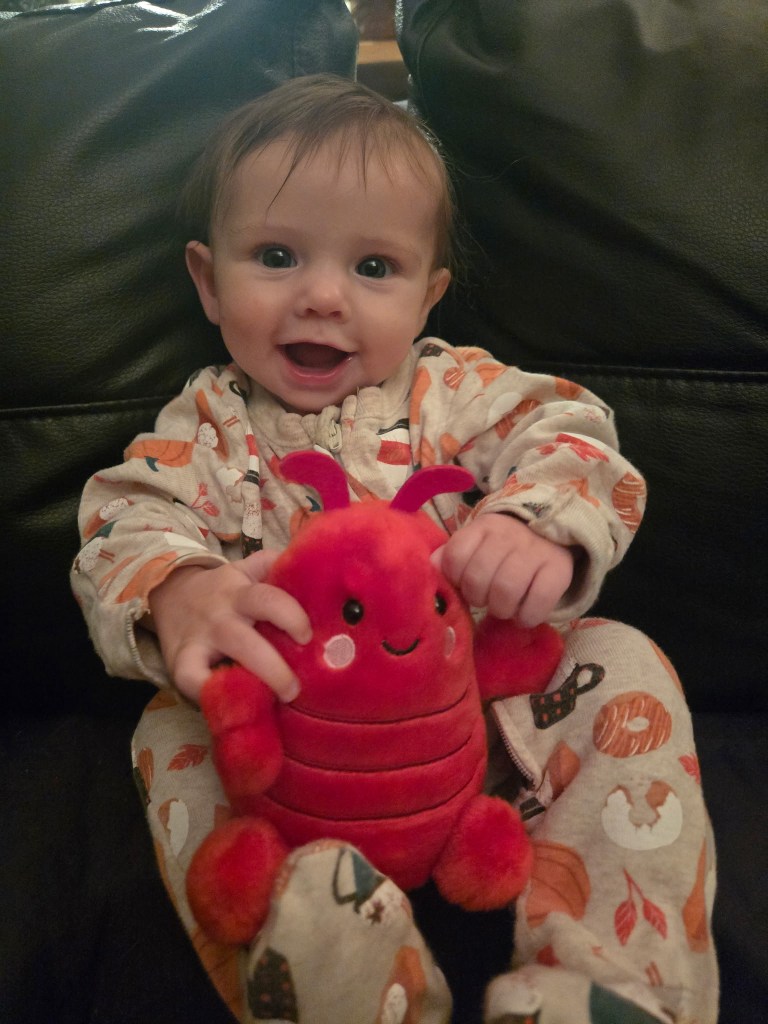
Then, I lost three days last week. I took the bull by the horns and just randomly drove down to Massachusetts to see my new granddaughter– it’s been since July for heaven’s sake! Fortunately, my son and DIL were willing…
I came bearing gifts– first and foremost, “Clawford” the Lobster who I purchased in Belfast a week or so ag0– it’s never to early to foster this child’s love of MAINE. I think Clawford was a hit.
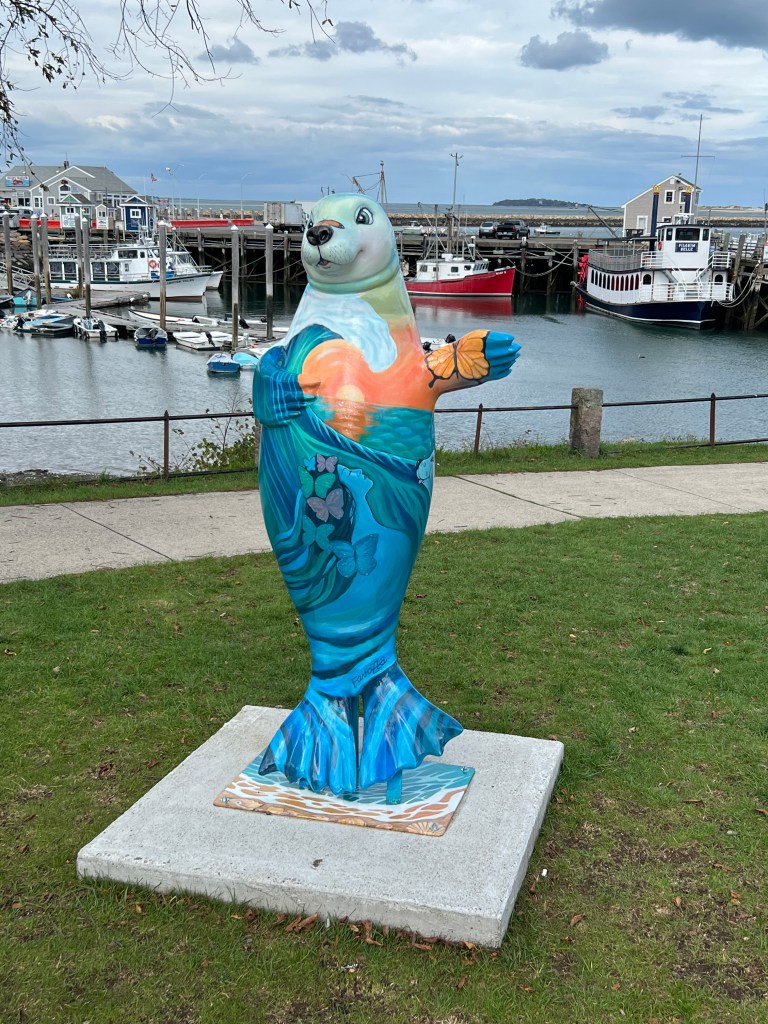
The weather and fall colors were gorgeous down there– I’d never miss a chance to stroll the Plymouth harbor front anytime I drive down. They had these cute painted seals– I’ve also seen shells, ponies, and lobsters done. Has your community ever done anything like this and what was the theme?
A stop by the ol’ Mayflower is mandatory– it’s not the real one, but it’s a perfect replica made in the 1950s, I believe. If you ever think you have encountered hardship, go visit the single berth that was given to each family to share, even amongst six of them. It’s kind of inspiring. I, of course, would have skipped the voyage and stayed in Amsterdam to sew.

I think my family was happy to see me! ❤
Any trip out to civilization from the boonies of Maine is not complete without a visit to Michaels. If you know me, you know I am up for any type of craft, and I’m happy to report the Christmas options this year are all new and fabulous– much better than the past few years which always seemed a bit of a re-hash. I walked out with this lovely kit and card after much decision making–
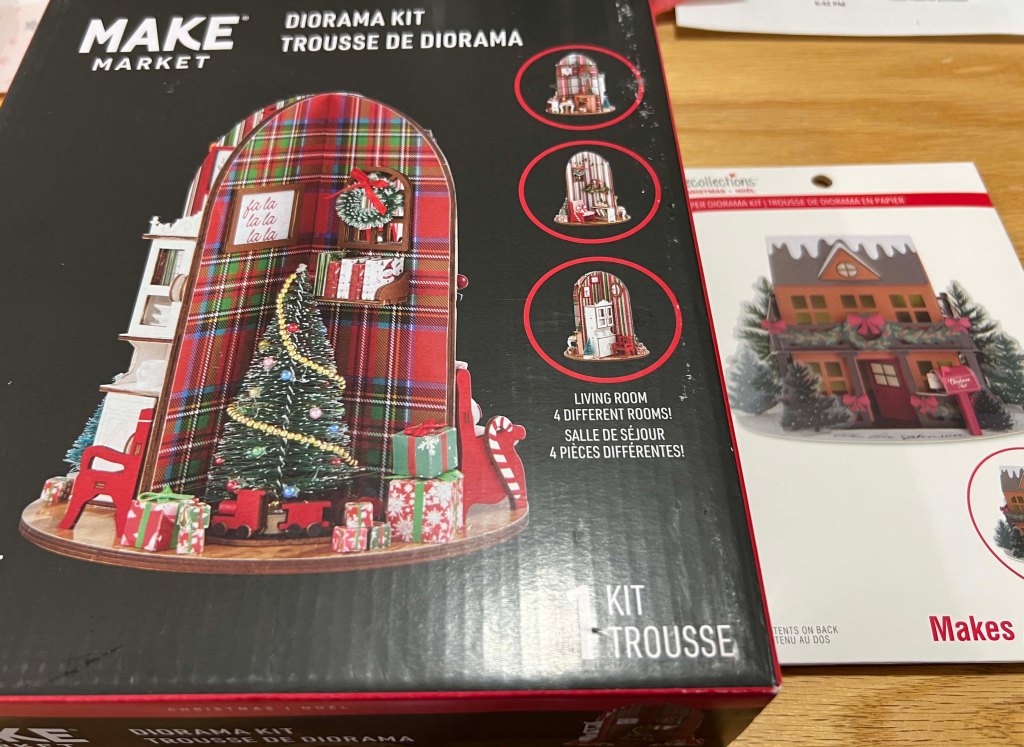
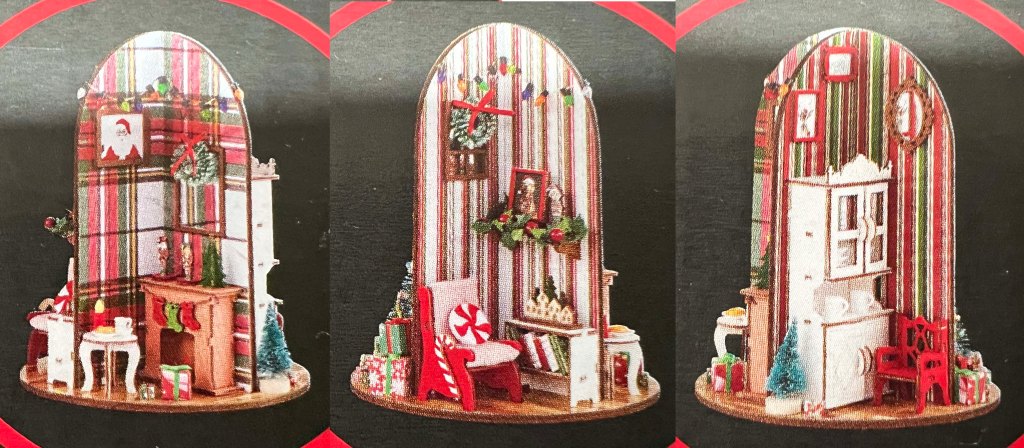
The kit is actually four rooms as you turn it around– I’ve always wanted to design little Christmas rooms for 5×7 embroidery hoops that would join to make a whole house! We have quite a full plate of guests for both Thanksgiving and Christmas, and I intend to put them all to work. I love the wall papers!
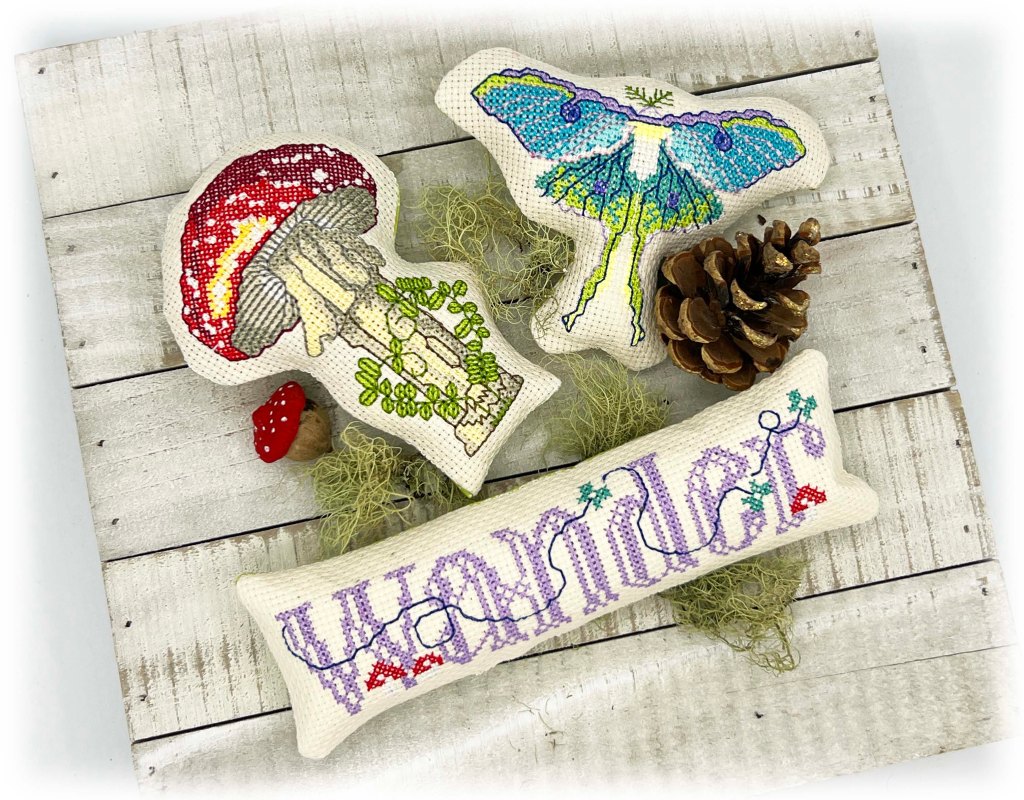
It takes a day to drive down to Plymouth, a day to stay, and a day to drive back, but the trip was over before I knew it. I still had time left in the week to do a bowl filler installment– did you see it on the website this morning? It’s a stroll through the forest. All of my bowl filler sets are 50% off right now– if this is your first visit to my blog, this is not hand cross stitch– they are made in minutes with an embroidery machine!
On Saturday, Mr SFO and I visited Marden’s for the first time in a couple of months– that glorious Maine liquidator of all things retail. I didn’t intend to buy fabric– (We never do, do we!) but I found some glorious Christmas prints for $6.99 a yard.
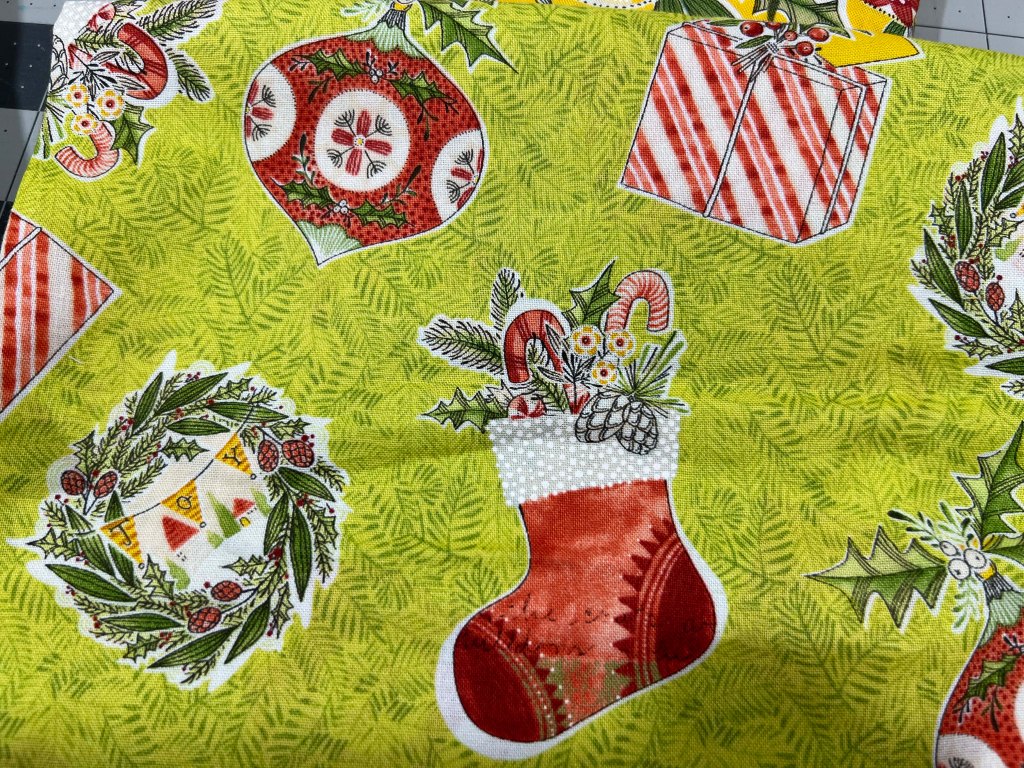
The fabric is arranged in a mishmash– as I sorted through, it occured to me the ones I was pulling might be made by the same designer, so I looked for as many as I could find!
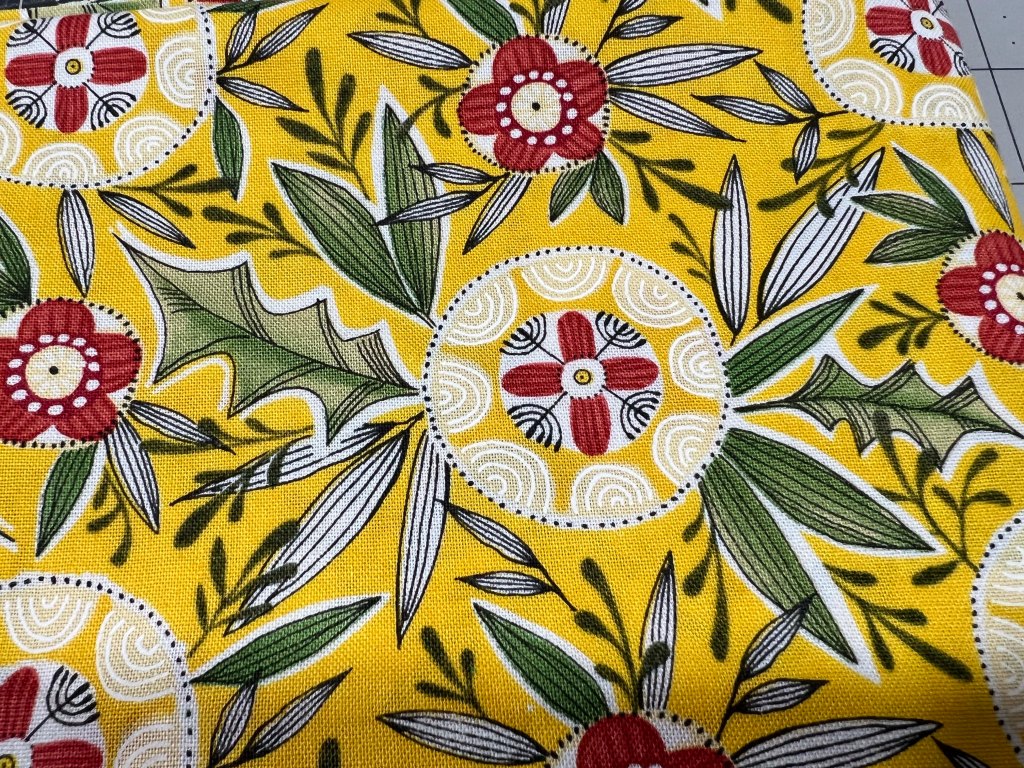
This glorious little dove print finally put me over the top to buy 1/2 yard of each.

I even found this cute panel– I just can’t resist animals. The little prints between each animal are nicely drawn and colored as well.
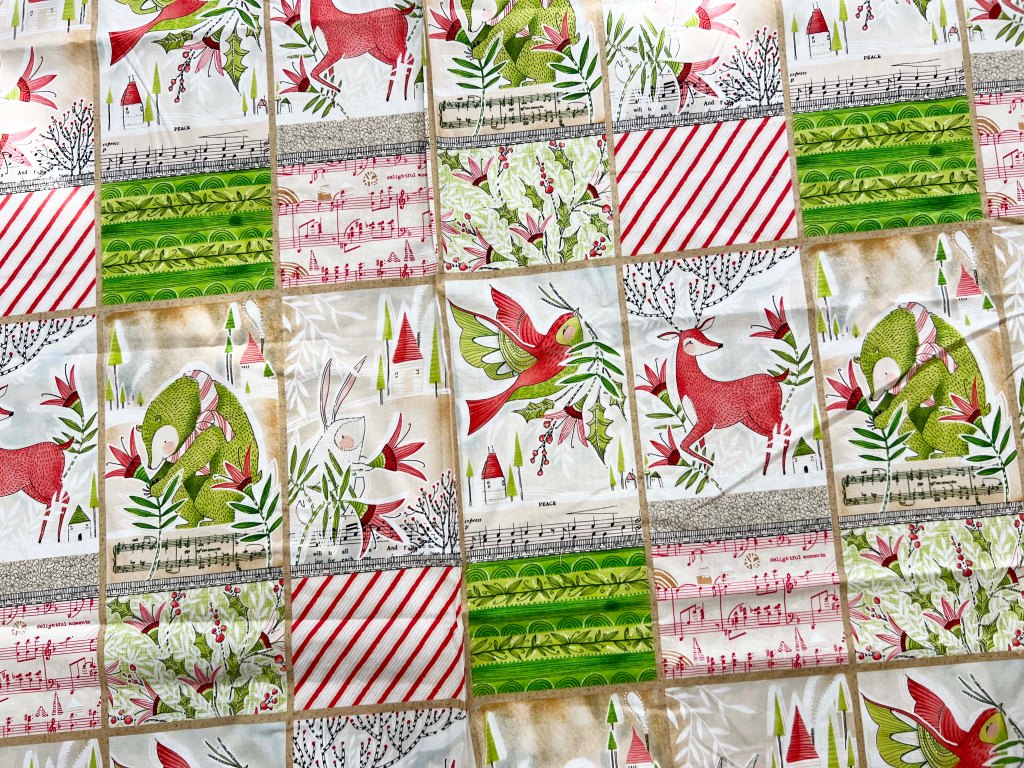
When I got home, I searched the internet and found out this is Cory Dantini’s “Love, Santa” collection from 2022. I’m missing a couple of SKUs that are still on Etsy, but I really don’t need to add to this collection for which I have no project in mind… we’ll see what happens. as willpower is not my strong point!
In the cross stitch department, I just had the major Holly Horse stocking finish and I’m not really sure what throw myself into next. I did finish stitching that massive yellow area on Sandy Orton’s Summer Sampler.
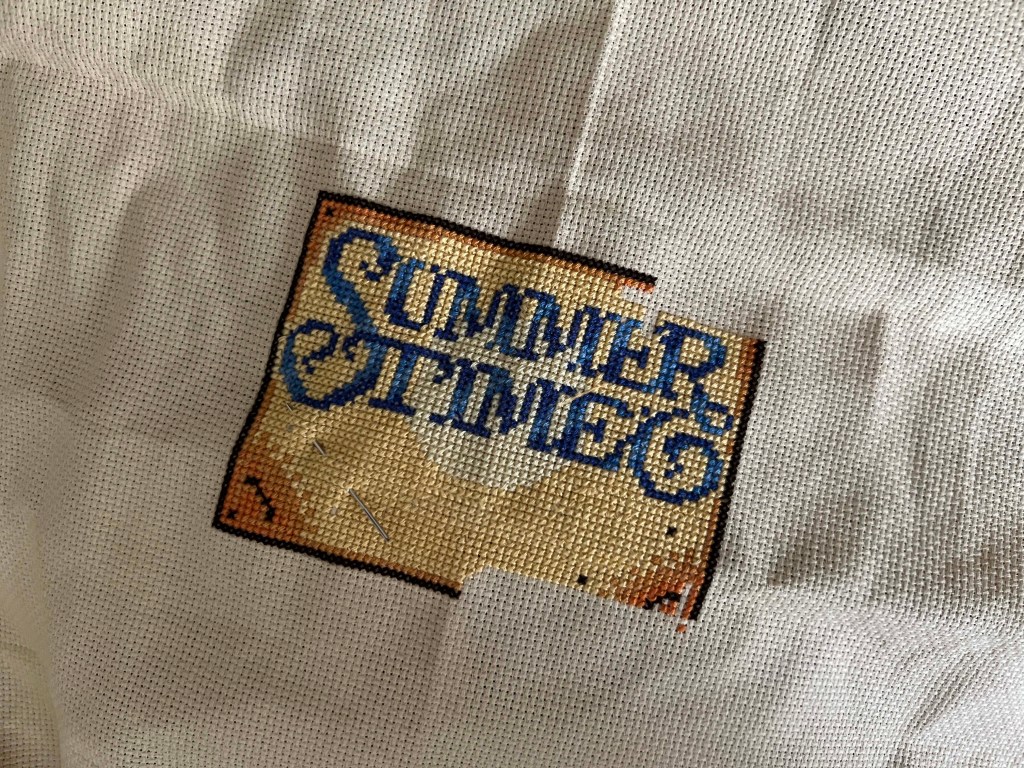
Keep in mind I’d rather fill the entire canvas with a ticker tape parade scene than stitch large areas of solid color. There are always certain parts of a hobby that aren’t your favorite, and it comes down to “forcing” yourself to do them– that’s why we get stuck and end up with UFOs… but I powered through it. There are now numerous and more fun areas unlocked to work on next.
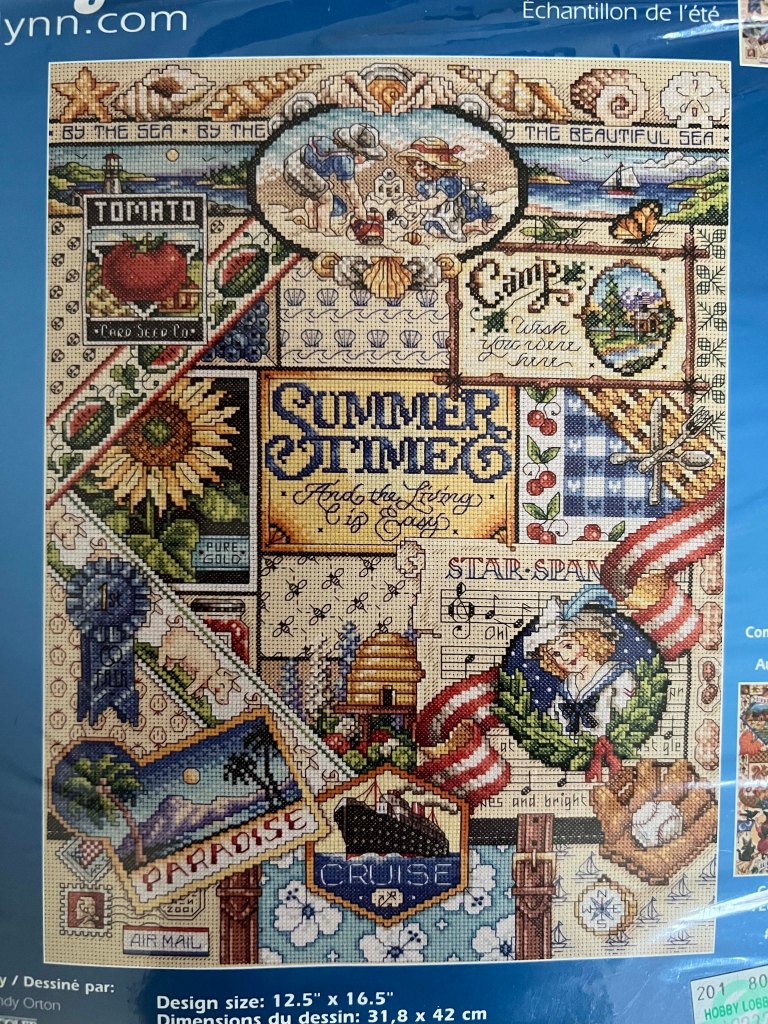
It is one of a series of four seasonal pieces designed by Sandy Orton in the early 2000’s. The woman is just a genius and while time consuming, there are enough little sections to keep your interest– I spy peanuts– a grasshopper–stamps– and blueberries! I picked this up on eBay– my favorite place to buy all those forgotten craft kits that have been lying in people’s attics for years. This is a very long term stitch I’m going to put down at some point to work on other cross stitch pieces I have going to maximize my finishes for the year.
Another week of progress in the books! Thanks for joining me– be sure to subscribe if you need a quilt-y internet friend for inspiration each week– I’d love to hear what you’re working on as well!
xox
Carol
___________________
Pumpkin Sitting Quilt
Here are the instructions to make the cat’s tail “connected.” You will need your printed instruction sheet to follow along. Everything up to page 7 in making the cat is fine. The first change, at the top of page 8, is to use a smaller 1-1/2″ square for piece “U.”
The tail section is completely different in the next step. Follow this photo:

For the left portion of the tail, cut two 1-1/2″ squares in the black, one 1-1/2″ x 2-1/2″ inch background square (I used pink) and two small 3/4″ background pieces to round the tip of the tail– just leave the tip of the tail square if that size piece is too small for you. Stitch and flip the tiny background squares to a 1-1/2″ black square as shown, then sew it to the top of the pink rectangle and add the other black square at the bottom.
For the right portion of the tail, cut a 4-1/2″ x 1-1/2″ black rectangle and two 1-1/2″ background squares. Stitch and flip the small squares to the black fabric as shown– note the orientation of each.
Now sew those two pieces together. Pieces “S” and “T” are the same size as in the instructions– just continue on– easy peasy!

Leave a comment